
Last updated November 20, 2026
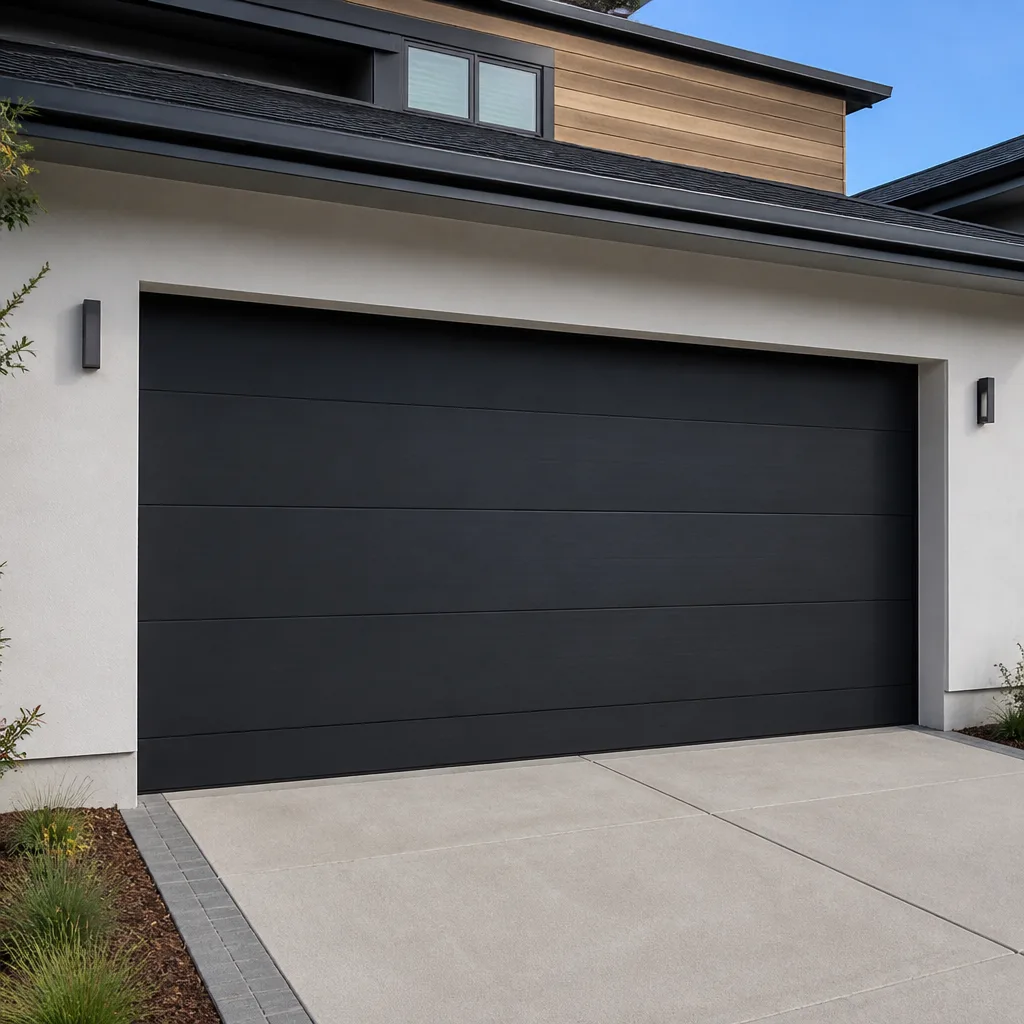 Modern flush
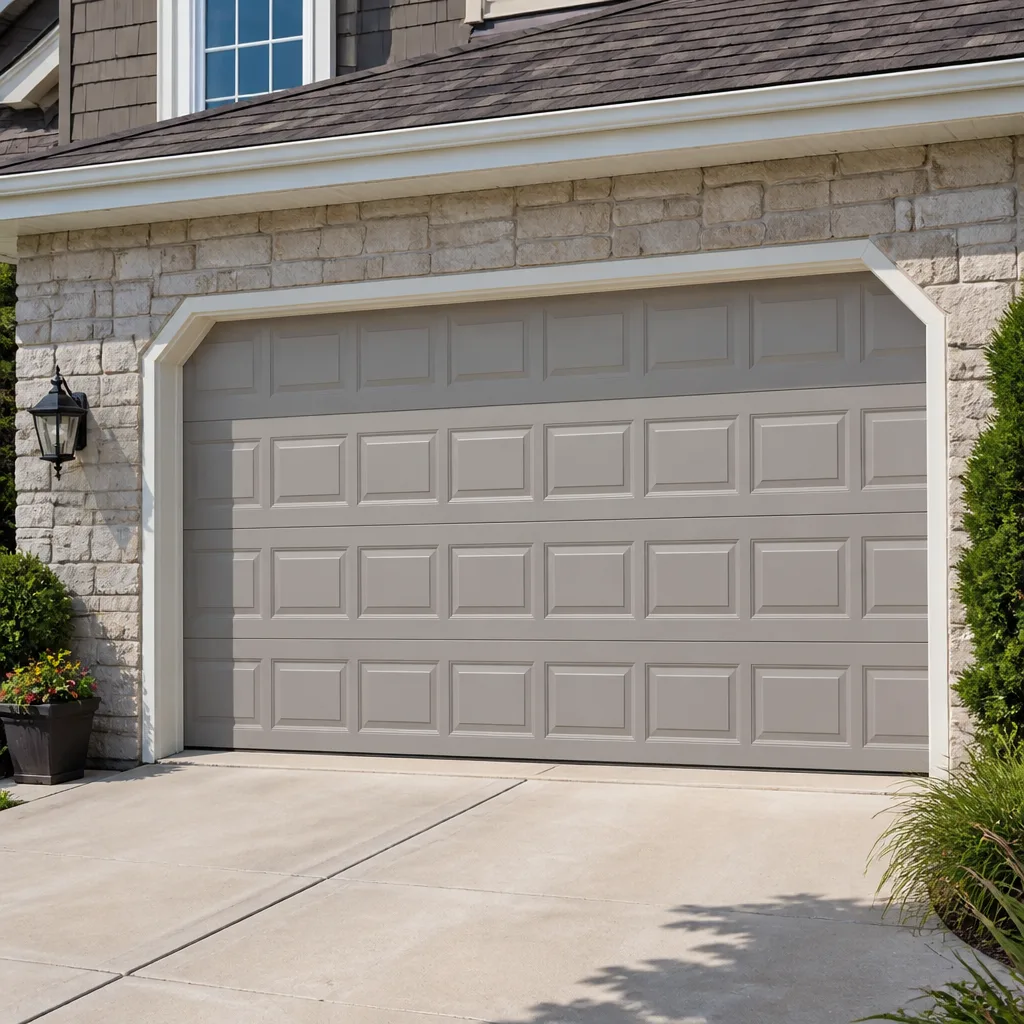 Raised-panel steel
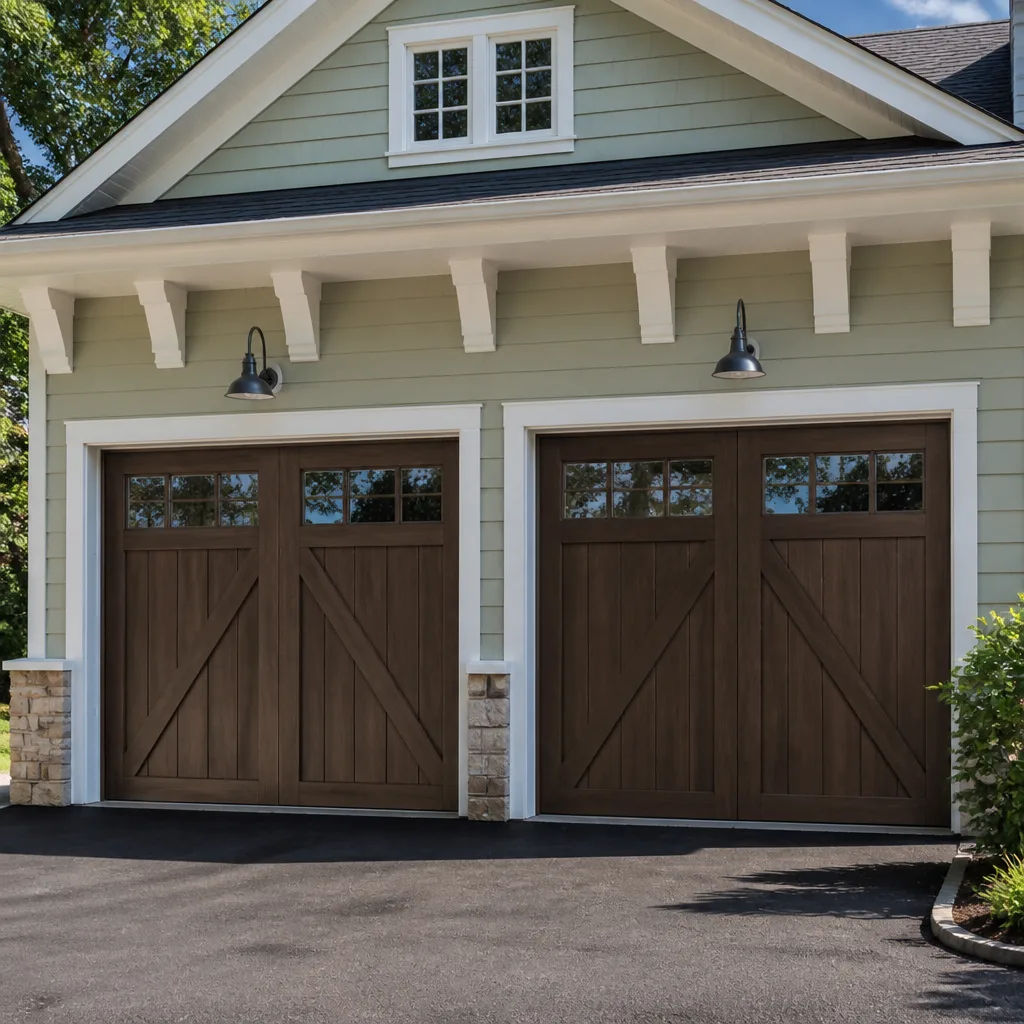 Carriage house
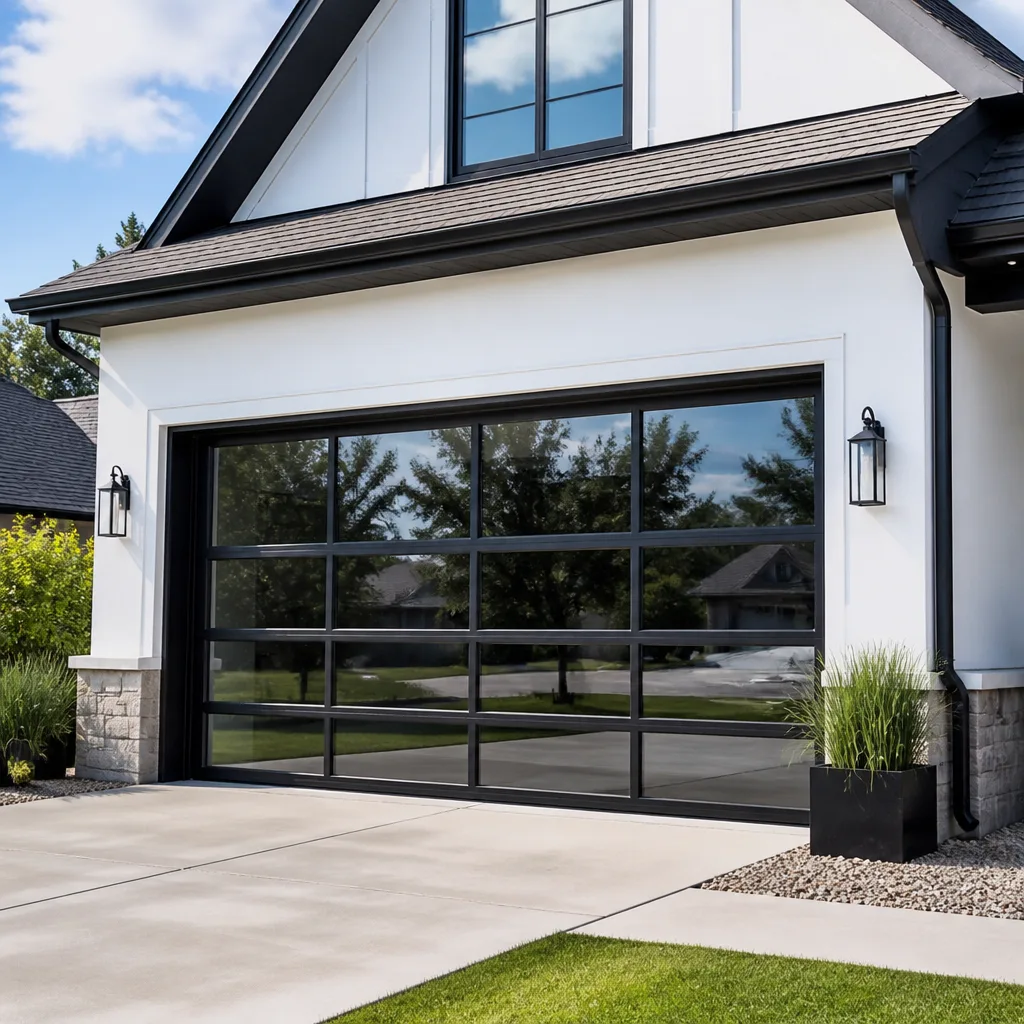 Full-view glass
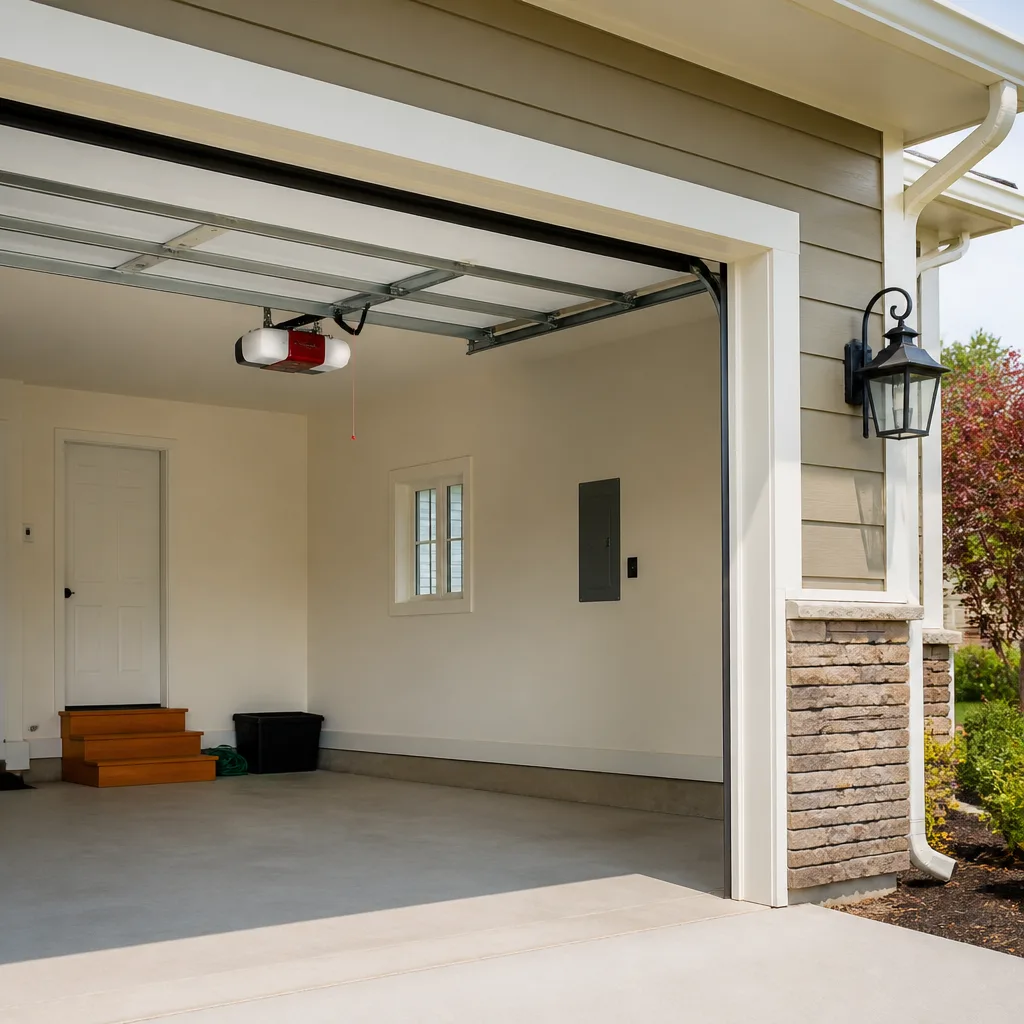 LiftMaster openers
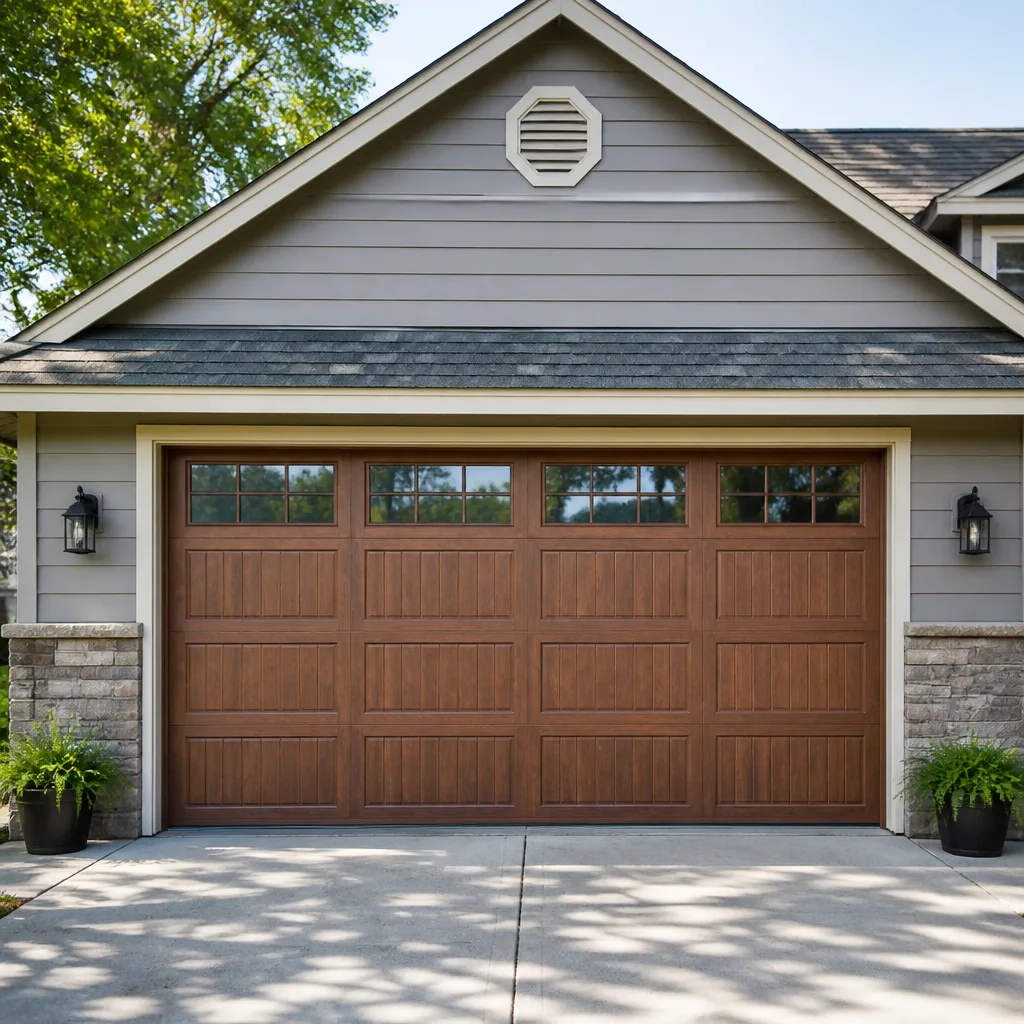 Chamberlain openers
Full 25-point door and opener safety check with every visit - springs, cables, rollers, tracks, and your LiftMaster or Chamberlain opener included
You get a price before we start. It does not change when the pro arrives.
Get your free estimateGarage Door Repair Maintenance Checklist for Flushing Homeowners
The number-one cause of a snapped torsion spring isn’t age. It’s a door that’s been running slightly out of balance for months while the owner ignored a grinding noise that was cheap to fix. By the time a spring lets go, the wear that caused it has usually been visible for a while: a wobbling panel, a roller dragging in its track, a bottom seal that’s stiff as a board. This guide is built around the five checks that head off most emergency calls, tuned to the way doors actually wear in Flushing. Stop-and-go street parking works a door harder here than a suburban driveway ever will, and freeze-thaw winters add their own punishment. You’ll learn what to check yourself, what to leave alone, and the red-line signs that mean stop using the door now.
Quick Answer
A garage door maintenance checklist for Flushing homeowners should cover five core tasks: a monthly balance test, twice-yearly lubrication of hinges and rollers (never the springs with anything sticky), a visual inspection of cables, drums and bottom seals, a seasonal check of the bottom weather seal and frame for salt intrusion and freeze damage, and an opener safety-reverse test every few months. Everything else – spring tension, cable replacement, track realignment – belongs to a professional. Do these five and you’ll avoid most of the spring failures, opener burnout and stuck-door calls we see around Flushing.
Styles & brands we work with
- Raised-panel steel
- Carriage house
- Modern flush
- Full-view glass
- LiftMaster openers
- Chamberlain openers
Table of Contents
- Why Flushing Doors Wear Differently
- The 60-Second Balance Test
- Lubrication: What Goes Where
- Monthly Visual Inspection
- Seasonal Checks: Salt, Freeze and Framing
- Opener and Safety-Reverse Tests
- Red-Line Indicators: Stop Using the Door
- The Flushing Maintenance Calendar
Why Flushing Doors Wear Differently
Most garage door maintenance advice online is written for a door that opens once in the morning and once at night, on a driveway with a hundred feet of run-up. That isn’t the life of a door in Flushing. Between the density of street parking, the mix of single-family homes and small commercial buildings, and the two-car-per-household reality of much of Queens, many doors here cycle six to twelve times a day. More cycles means springs reach their rated cycle count faster, rollers wear flat spots sooner, and the opener motor runs hotter.
Then there’s winter. Flushing sits in a freeze-thaw zone, and that does two specific things to a garage door:
- Expansion and contraction. A wood or composite frame around the opening swells in January cold and shrinks in spring warm-ups. The door panel can bind against the frame in the morning and sit loose by afternoon, and that binding pulls the door slightly out of balance.
- Road salt tracked in on tires. Salt-laden slush sprays up onto the bottom section and the bottom seal, then dries into a crust. On steel doors, that crust eats into the paint at the bottom edge. On the seal itself, it hardens the rubber and eventually cracks it, which lets cold air and moisture into the opening.
None of this means a Flushing door is doomed. It means the maintenance schedule should lean toward the parts that fail first here – the bottom section, the seal, the rollers and the opener – and away from tasks that matter more on a low-use door out of state. Our technicians have up to 11 years of experience, and the checklist below reflects the wear patterns we actually see in Queens, not a generic national template.
The 60-Second Balance Test
A balanced door is one where the springs are doing the lifting. An out-of-balance door means the opener is doing some of the lifting instead, and that’s the slow path to a burnt-out motor or a snapped spring. Testing balance takes under a minute and you can do it without tools.
- Close the door fully and pull the emergency release cord so the opener is disconnected. The door should now move by hand.
- Lift the door to about waist height, then let go.
- Watch what happens. A balanced door stays roughly where you left it. A door that slides down on its own is under-tensioned. A door that drifts up is over-tensioned.
- Repeat at chest height. If the door behaves differently at two different heights, the springs are unevenly tensioned or one is failing.
- Reconnect the opener by pulling the carriage back until it clicks.
What the result means: a door that won’t hold position has a spring problem, and a spring problem is not a DIY fix. Torsion springs store enormous energy, and adjusting them the wrong way can snap a cable or send the winding bar flying. If your door fails the balance test, stop lifting it by hand and call a professional. We handle garage door repair for exactly this situation – a door that fails balance but hasn’t yet fully failed.
One Flushing-specific note: test the balance on a cold morning as well as a mild afternoon. A door that passes at 60 degrees but drifts in a January freeze is telling you the tracks are binding, and that’s worth catching before the spring gives out.
Lubrication: What Goes Where
“Use lubricant” is the useless version of this advice. Different components need different products, and putting the wrong one on the wrong part is how a door ends up gummy, dusty, or worse. Here’s the component-by-component spec.
- Nylon rollers: a dry silicone spray, applied sparingly, once or twice a year. Nylon rollers don’t need much and too much attracts grit.
- Steel rollers: a light lithium grease or a garage-door-specific spray grease on the bearing, twice a year. Steel rollers have more moving parts than nylon.
- Hinges: a few drops of light machine oil or silicone spray on the pivot points, twice a year. Listen for a squeak when you open the door and hit that hinge specifically.
- Track: never lubricate the track itself. A greased track collects dust and turns into a grinding paste. Wipe it clean with a dry cloth instead.
- Torsion and extension springs: a light coat of spray silicone, not grease. The point is to stop rust, not to slick the coils. On older doors with visible rust on the springs, silicone spray slows the corrosion but doesn’t undo it – rusted springs should be inspected by a professional.
- Opener rail and chain: follow the manufacturer’s spec. LiftMaster and Chamberlain chain drives generally want a specific rail grease, and the chain itself usually wants nothing at all. Genie and Craftsman belt drives usually want no lubrication at all.
Timing matters too. Lubricate in late fall so the door is smooth through the freeze-thaw months, then again in spring after the salt and grit of winter have had their chance to work in. Avoid spraying anything on a door that’s just been driven through a slushy street – let the bottom section dry, wipe it down, then lubricate.
Monthly Visual Inspection
A five-minute walk-around once a month catches most of what’s about to break. You’re not fixing anything here – you’re looking for change. What’s different from last month?
- Cables. Look at both sides of the door, top to bottom. Cables should be taut and free of fraying, kinks or rust. A cable with even one broken strand is a cable that needs replacing.
- Rollers. Look for flat spots, cracks in the nylon, or a roller that’s sitting crooked in its bracket.
- Hinges. Check for bends, loose bolts, or noise when the door opens.
- Panels. Look for dents, warps or separation between sections. A panel that’s separated at a hinge is a structural issue, not a cosmetic one.
- Tracks. Run your eyes along the tracks – both the vertical and horizontal sections. Look for dents, bends or debris. A track with a dent will make the door hesitate at that point every single cycle.
- Bottom seal. Look for cracks, splits, or a seal that’s visibly pulled away from the door bottom.
- Hardware. Glance at the bolts and brackets. Anything visibly loose or missing is worth flagging.
If a visual inspection turns up something on the spring, cable or drum assembly, don’t touch it. Those are the parts under tension, and they’re the ones that injure people. For the parts above, we can walk you through garage door opener repair considerations if the issue turns out to be on the opener side rather than the door side. The sooner the visual inspection catches a problem, the cheaper the fix usually is.
Seasonal Checks: Salt, Freeze and Framing
This is where a Flushing maintenance checklist earns its keep. Two seasonal windows matter most: late fall, before the first hard freeze, and early spring, after the last one.
Late Fall: Before the Freeze
- Wipe down the bottom section and seal. Remove any salt residue from the previous season with a damp cloth and let it dry fully. Follow with a coat of spray silicone on the seal.
- Check the door-frame gaps. As the frame swells in the cold, a door that was already tight against the frame will start to bind. If you see rub marks on the frame at the top corners, that’s the warning sign.
- Clear the tracks of grit. Grit plus freeze is a door that hesitates at the worst moment.
- Test the opener’s force setting. On LiftMaster, Chamberlain and Craftsman openers, follow the manual’s procedure for checking the open and close force. An opener that’s struggling cold is going to struggle harder in January.
Early Spring: After the Thaw
- Re-check the frame. As the wood contracts back, a door that was tight in winter may have shifted slightly. Re-test the balance.
- Inspect the seal again. A seal that cracked over the winter will let in warm-weather insects and cold-weather drafts alike. Replace as needed.
- Look at the spring coils. Winter is when rust gets a foothold. Any visible rust on a torsion spring means it’s time for a professional look.
- Clean the bottom track channel. The amount of salt-and-sand grit that ends up in the bottom channel of a Flushing door by April is astonishing, and that grit chews rollers and pins.
If you’re planning a spring replacement, or the door is showing real panel or rust damage by spring, that’s the season to think about garage door installation rather than another patch. But for most Flushing doors, the seasonal checks above keep the door running without a replacement for a long time.
Opener and Safety-Reverse Tests
The opener is the part of the system most Flushing homeowners never look at until it stops working. Two tests matter most, and both take under a minute.
The Safety-Reverse Test
- Place a roll of paper towels or a 2×4 flat on the ground in the door’s path.
- Close the door using the wall button or remote.
- The door should reverse within about two seconds of contacting the object. If it doesn’t, the safety system isn’t working, and that’s a call-a-professional situation.
- Repeat with the photo-eye test: break the beam by waving an object through the sensors while the door is closing. The door should reverse immediately.
The Force Test
On most Chamberlain, LiftMaster, Genie and Craftsman openers, the force adjustment is a small dial or a programming step on the control panel. Follow the manual’s instructions for setting open and close force. Too much force masks a door that’s binding; too little force means the door reverses for no reason. If your door opens unevenly – fast then slow – the issue is usually the door, not the opener.
Two things to check on the opener every few months:
- Battery backup. Many newer LiftMaster and Chamberlain openers have a battery backup that needs testing by unplugging the unit and confirming the door still opens.
- Belt or chain tension. A sagging belt on a Genie or Chamberlain belt drive is noisy and eventually slaps. A slack chain on a chain drive is more of a slow grind. Adjust per the manual.
If your opener is a Raynor or an older Craftsman, parts availability matters, and a professional can tell you within minutes whether a repair makes sense or a replacement does. See our Garage Door Repair Flushing page for the brand-specific side of this. A Raynor or older Craftsman isn’t a problem; it’s just a system we’re used to working on.
Red-Line Indicators: Stop Using the Door
Some symptoms mean the door should stay closed and stay put until a professional has looked at it. These aren’t “schedule a service call at your convenience” issues – they’re stop signs.
- A visibly broken spring. You’ll know because the door suddenly gets impossible to lift by hand and makes a loud bang when it happens. Stop using the opener, because it’s now lifting the full weight of the door and will burn out or break a cable.
- A cable that’s frayed, kinked or hanging loose on one side. Cables are under extreme tension. A frayed cable is a cable that’s already failed most of the way.
- A door that’s visibly crooked – one side higher than the other. This usually means a cable or drum has slipped, and continuing to run the opener makes it worse.
- The door won’t reverse on contact with an object. A safety system that’s failed is a serious problem, especially on a door that opens onto a driveway with kids or pets around.
- A scraping, grinding noise that’s getting louder, not staying the same. A one-time squeak is a lubrication point. A grinding that gets worse every cycle is a track or roller failure in progress.
- Loosened wall or ceiling brackets. If the opener’s mounting brackets are pulling away from the ceiling, the door is unsafe until that’s fixed.
If any of these turn up, the right move is to stop the door and call. We offer emergency service for exactly these situations, and it’s a core part of what we do, not a side offering. Springs and cables are two of the most dangerous parts on any garage door – more injuries happen here than any other part of the system – and a trained technician with the right winding bars and safety gear is the only safe way through. This isn’t a warning we include as boilerplate; it’s a warning that reflects what the job actually involves.
The Flushing Maintenance Calendar
Here’s the checklist compressed into a calendar. Print it, stick it on the wall by the door, and check off each item as you go.
Monthly
- Balance test (60 seconds)
- Visual inspection: cables, rollers, hinges, panels, tracks, seal
- Listen for changes in noise
Every Three to Four Months
- Safety-reverse test
- Photo-eye test
- Opener force check per the manual (LiftMaster, Chamberlain, Genie, Craftsman, Raynor)
- Battery backup test (if applicable)
Twice a Year (Late Fall and Early Spring)
- Full lubrication: rollers, hinges, springs (silicone, not grease), opener rail
- Bottom seal wipe-down and silicone coat
- Track cleaning (dry cloth, no lubricant)
- Frame and weather-strip inspection
- Salt-residue cleanup on the bottom section
Annually
- Professional inspection of the spring and cable assemblies
- Track alignment check
- Consider a full service call ahead of the next winter
If the door has never been professionally serviced – or you can’t remember the last time – a single service call catches up years of small issues in one visit. Our technicians have up to 11 years of experience across LiftMaster, Chamberlain, Genie, Clopay, Amarr, Wayne Dalton, Craftsman and Raynor systems, so if your opener is a Raynor and your door is a Clopay, we’re already familiar with both. For Flushing homeowners with limited parking options, a door that’s on its last legs is a real inconvenience – the calendar above is how you keep it from getting there.
Common Mistakes to Avoid
- Lubricating the track. A greased track feels better for a week and then collects grit like a magnet, which turns the rollers into sandpaper. Dry-wipe the track, lubricate the rollers at the bearing only.
- Adjusting springs without the proper tools. The improvised screwdriver-and-vise-grips approach is how people get seriously hurt. Torsion springs hold hundreds of pounds of force; only a trained technician with the right winding bars should touch them.
- Ignoring the balance test. A door that drifts down on its own looks like a minor annoyance, but it’s an opener working double-time to lift it, and openers fail faster under that load.
- Waiting until the door stops working to call. Spring failures almost always telegraph themselves: a door that suddenly needs two tries to open, a grinding sound on the way up, a door that’s heavier than it used to be. Treating these as “just call later” is how a $12 lubrication problem becomes a $400-ish spring replacement.
- Skipping the bottom section in winter. In Flushing, the bottom section and seal take the worst of the salt and slush. If you only clean and lubricate the top half of the door, the part that actually corrodes gets ignored.
- Using grease where silicone belongs. Grease on springs attracts grit and turns to paste; silicone on nylon rollers is right, lithium grease on steel rollers is right, and the two aren’t interchangeable.
- Assuming a newer door is maintenance-free. New LiftMaster and Chamberlain openers still need the safety-reverse test every few months. New Clopay and Amarr doors still need rollers lubricated and seals wiped. The calendar doesn’t change because the door is newer.
See the difference
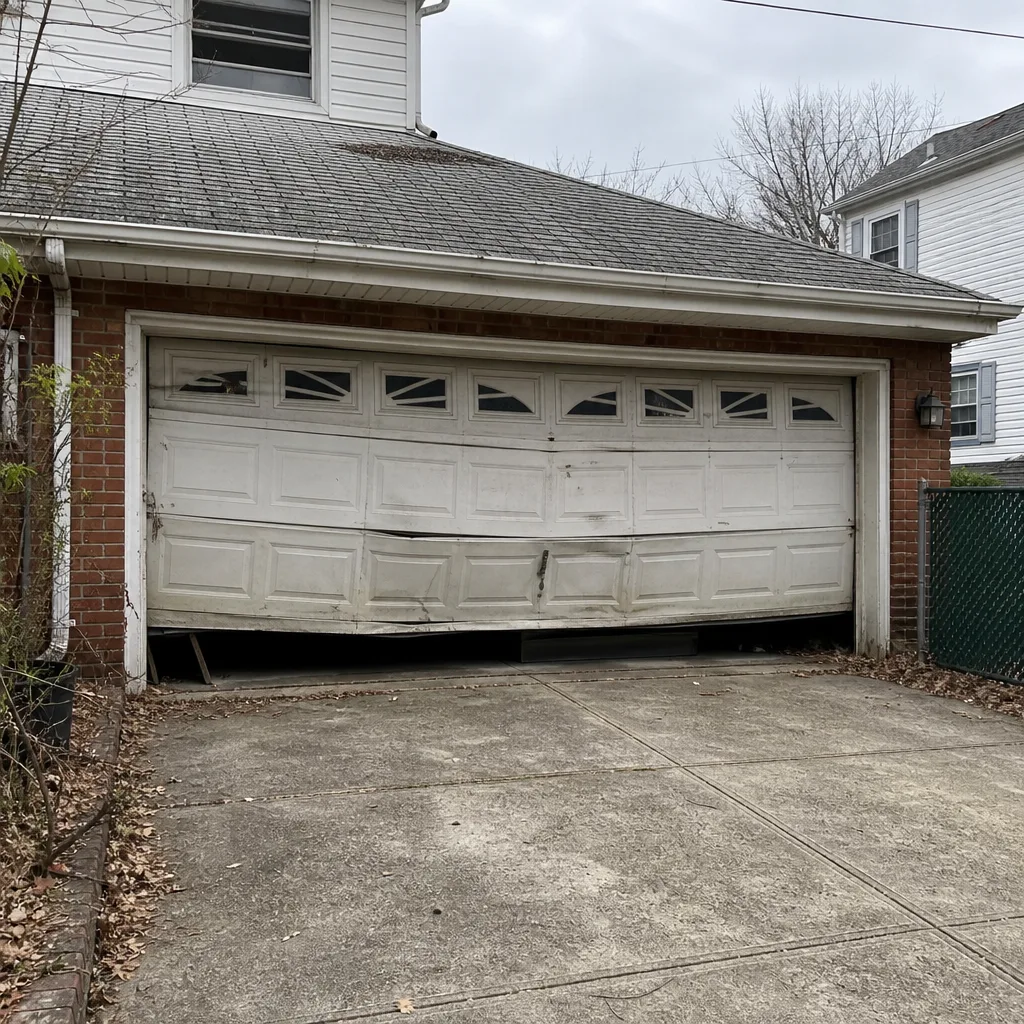 Before
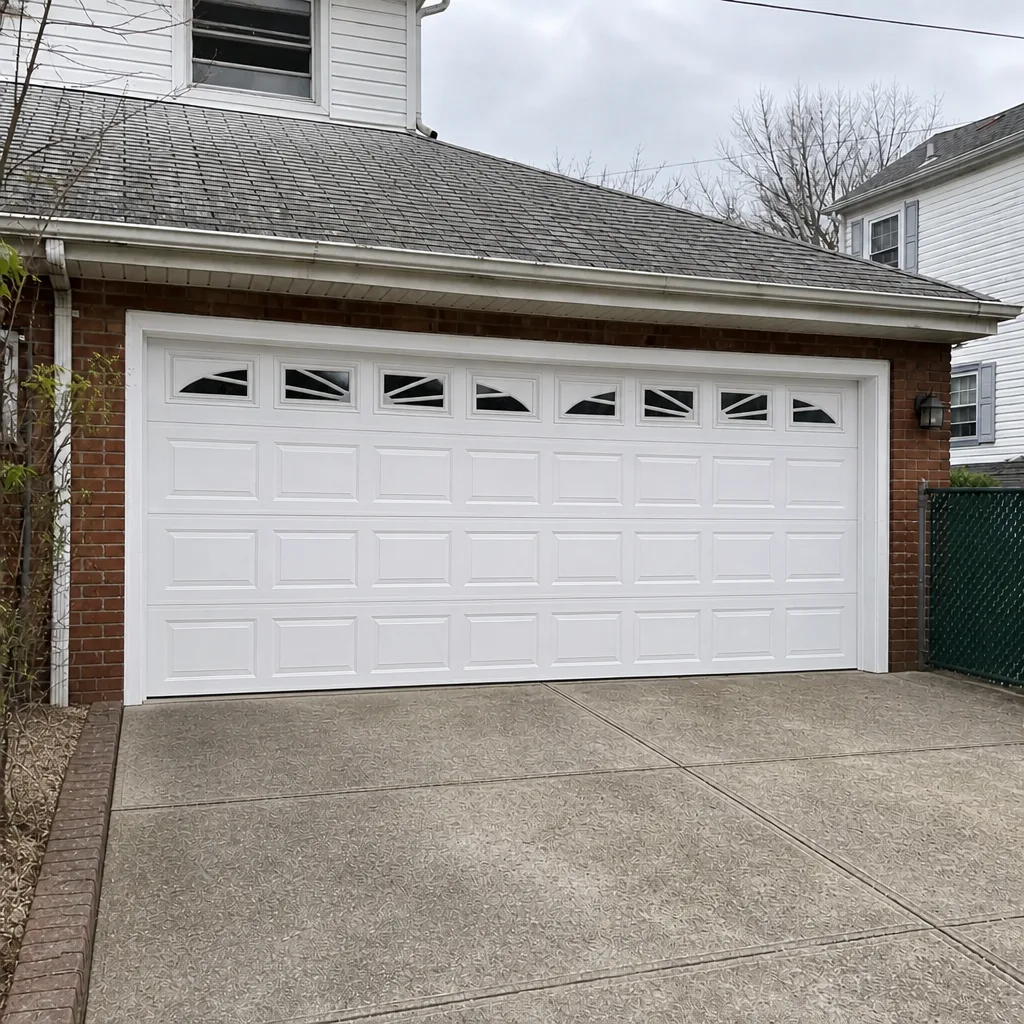 After
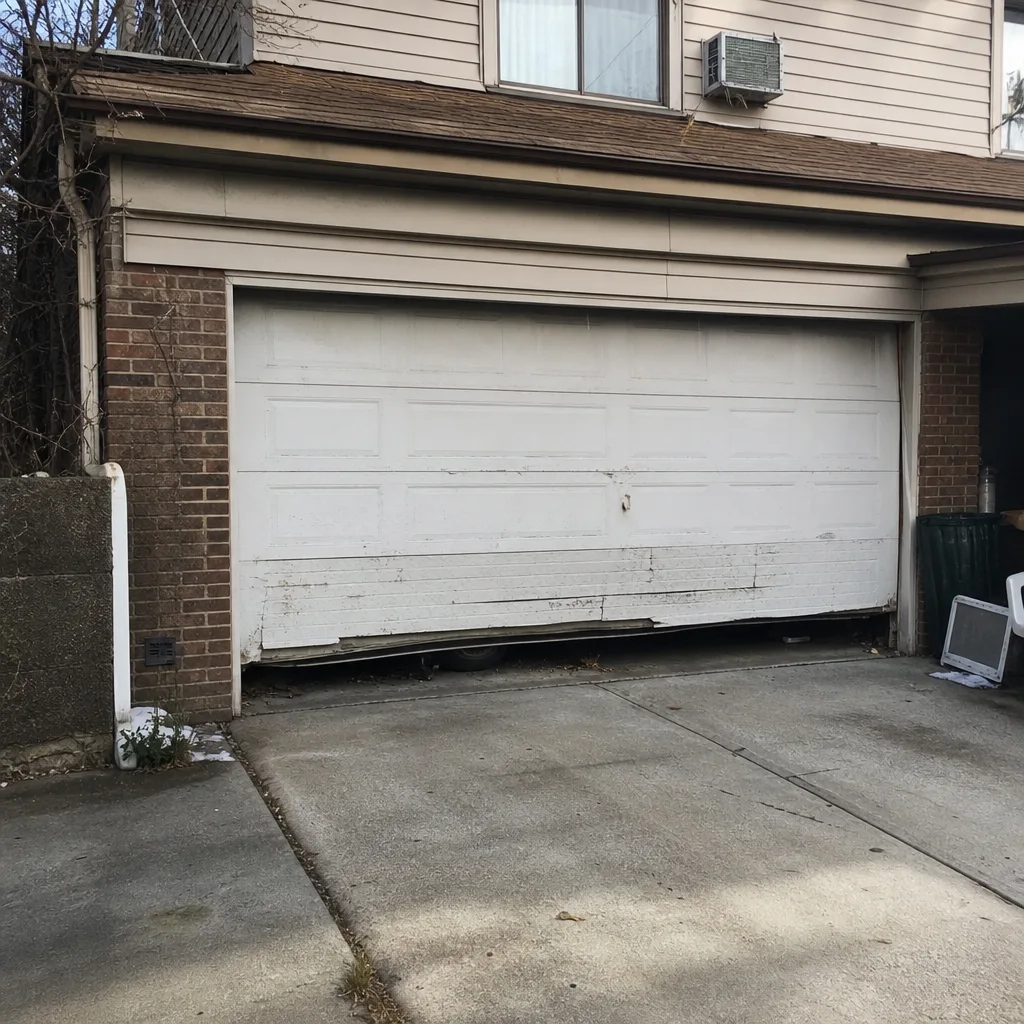 Before
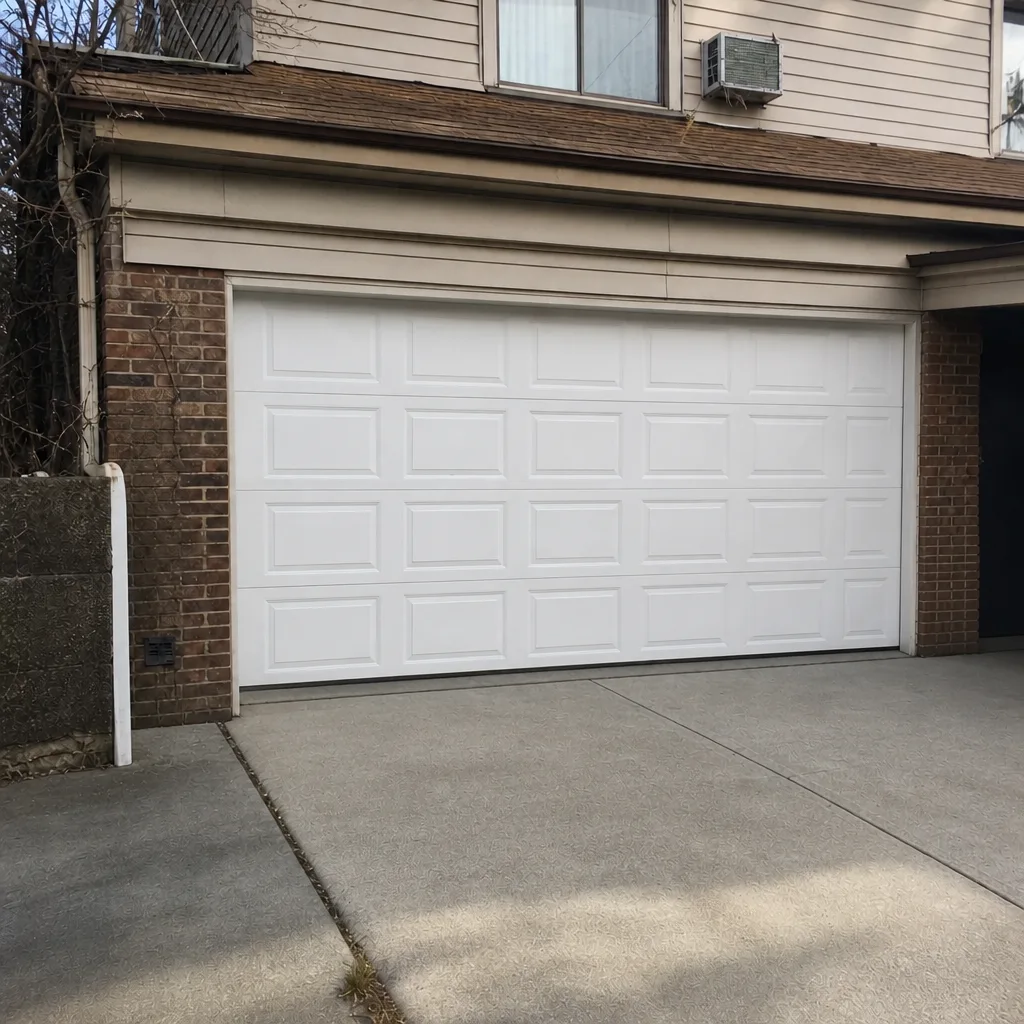 After
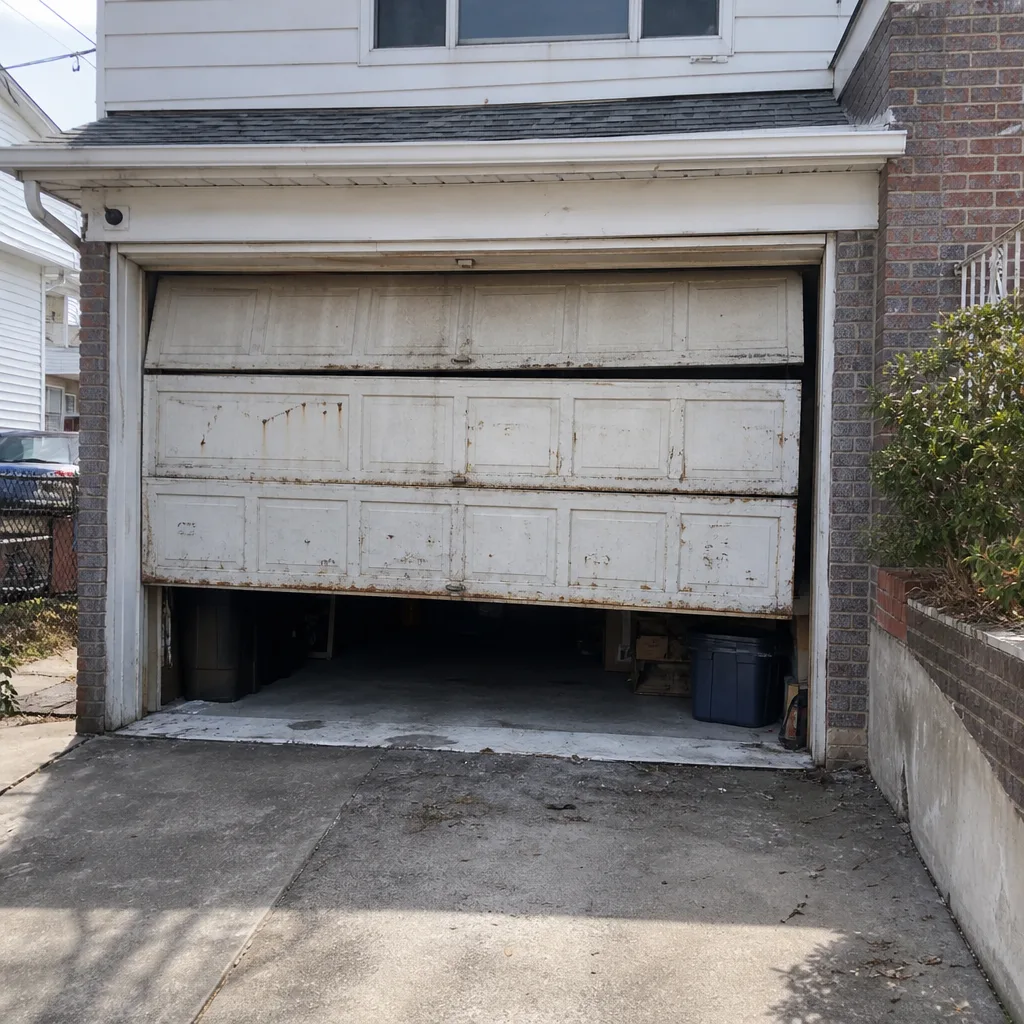 Before
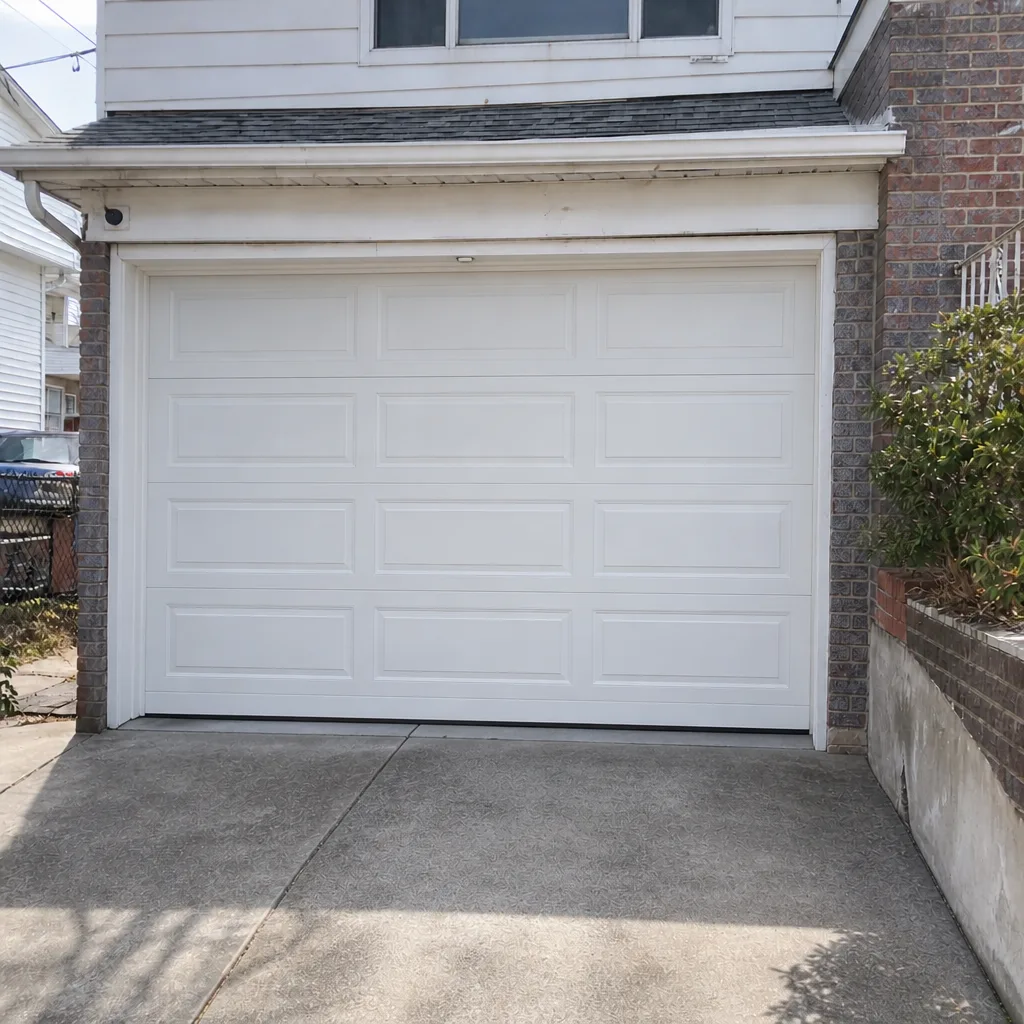 After
When to Call a Professional
Call a professional when the balance test fails, when a spring or cable is visibly damaged, when the door is crooked or the safety-reverse test fails, or when the door suddenly becomes much heavier to lift. Also call if the door has never been professionally serviced, if the opener is old enough that parts availability is uncertain, or if any track or bracket has come loose. Garage Door Repair Flushing offers free estimates in Flushing. Call (855) 337-1761. We answer 24/7 and offer fast dispatch from 7am to 7pm, Sunday through Friday. The written estimate sets the price before any work starts, and we’re happy to walk you through what your door needs vs. what can wait.
Frequently Asked Questions
Twice a year for lubrication and seasonal checks, monthly for the visual inspection and balance test, and annually for a professional inspection of the spring and cable assemblies. Doors that cycle six or more times a day – common in Flushing – should stick to the upper end of that. Call (855) 337-1761 for a free estimate on a catch-up service.
Yes, with the right product. A light coat of spray silicone on the coils is a homeowner-safe task; anything involving tools on the springs is not. Never adjust, wind or unwind a spring yourself. If the spring looks rusted or the door fails the balance test, stop and call (855) 337-1761 for a free estimate.
It usually means the door has friction on the tracks, rollers that are dragging, or a frame that’s binding – common in a Flushing January as the frame swells. A balance test only tells you the spring vs. door weight relationship; it doesn’t tell you about drag. Call us for a look, and we’ll tell you what’s actually going on before any work starts.
If the opener is a brand we service – LiftMaster, Chamberlain, Genie, Craftsman, Raynor – repair is usually the first option. Recent openers from those brands are repairable; very old units with discontinued parts lean toward replacement. We’ll give you a straight answer at the free estimate. Call (855) 337-1761 to book one.
Stop using the door with the opener and don’t run it closed until a professional has looked at it. A door that won’t reverse on contact is a real safety hazard, especially on a driveway or an opening that faces a street. Call (855) 337-1761 – we handle this same-day in Flushing.
Yes, on the bottom section and seal specifically. Flushing tires track salt-laden slush into the garage, and it crusts on the bottom edge of the door and the bottom seal. Wipe it off twice a year, silicone the seal, and inspect for paint or rubber wear at the bottom edge. The rest of the door is less affected. Call us if the seal has already cracked through.
The Bottom Line
Maintenance on a garage door is about doing five things consistently, not every possible thing occasionally. Monthly balance test, twice-yearly lubrication with the right products on the right parts, a visual inspection of the parts under tension, seasonal salt-and-freeze care, and a periodic opener safety check. That’s the whole checklist. Around Flushing, doors work harder than most, so the calendar matters more than the tools. The parts you shouldn’t touch – springs and cables – belong to a professional, and the red-line indicators above tell you when that line has been crossed. Everything else you can do in under ten minutes a month.
If you’d rather have a specialist handle the full checklist in one visit, that’s what we do. Call (855) 337-1761 for a free estimate. We answer 24/7 and offer fast dispatch from 7am to 7pm, Sunday through Friday. The price is set per job by the written estimate, and we won’t start until you’ve agreed to it.
Written by the team at Garage Door Repair Flushing.